- Views: 4.2K
- Category: AWS
- Published at: 10 Jun, 2019
- Updated at: 19 Aug, 2023
How to launch WordPress website on amazon lightsail
How to launch a WordPress website on amazon lightsail
Millions of websites are hosted on shared hosting, but they still don't know about Amazon lightsail. Amazon lightsail is a platform where you can create your virtual private server with a few clicks; they offer the best prices to launch your site using CMS like WordPress, Joomla, Magento, or NodJS.
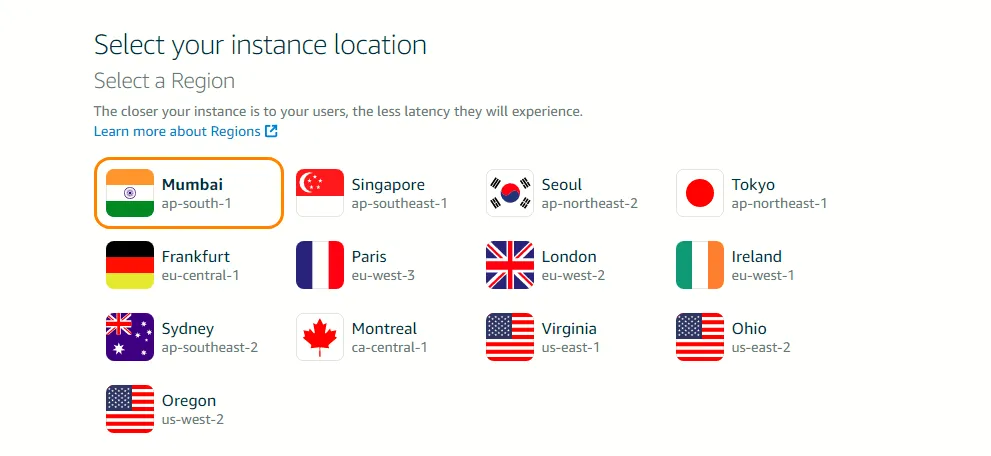
You can also select your OS or the database and specify the region where you start your instance; Region India has the lowest price rates.
Why do you need to migrate your site from shared hosting to amazon lightsail..? The main reason is security; amazon lightsail provides you the built-in security, so you don't worry about it; we know if your site is hosted on shared hosting, you access your panel using www.domainName/Cpanel OR www.domainName:2082. Using lightsail, you can't directly access your panel or PHPMyAdmin.
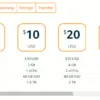
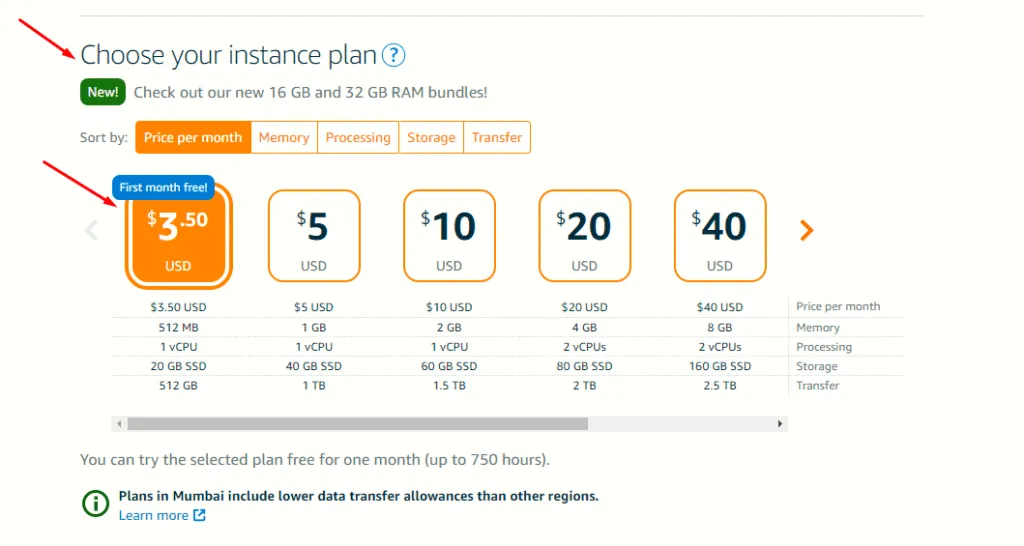
If you start the lightsail, Amazon gives you a one-month free trial; after that, they charge 3.50$ every month; you can also choose your plan; below are the Amazon lightsail plans.
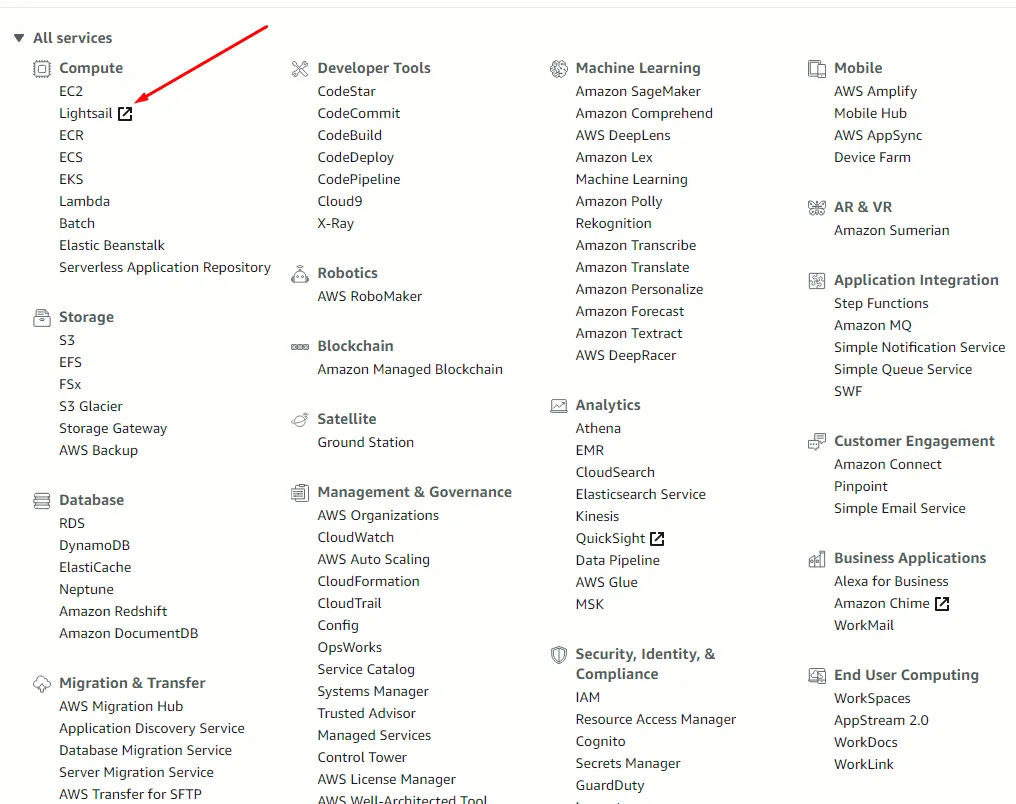
Step 1: Go to the Amazon console and click on the all services link; find the lightsail link and click on it; it will redirect you from the console to the amazon lightsail site.
Creating an instance on amazon lightsail is very easy. Select the region and price with the platform, i.e., WordPress, and click on the Create instance button. That's it, but before creating any instance, you must have Amazon approve the account. Now I will create the amazon lightsail instance, so I consider you to have the amazon approved account. If you don't have an Amazon account, create your account now.
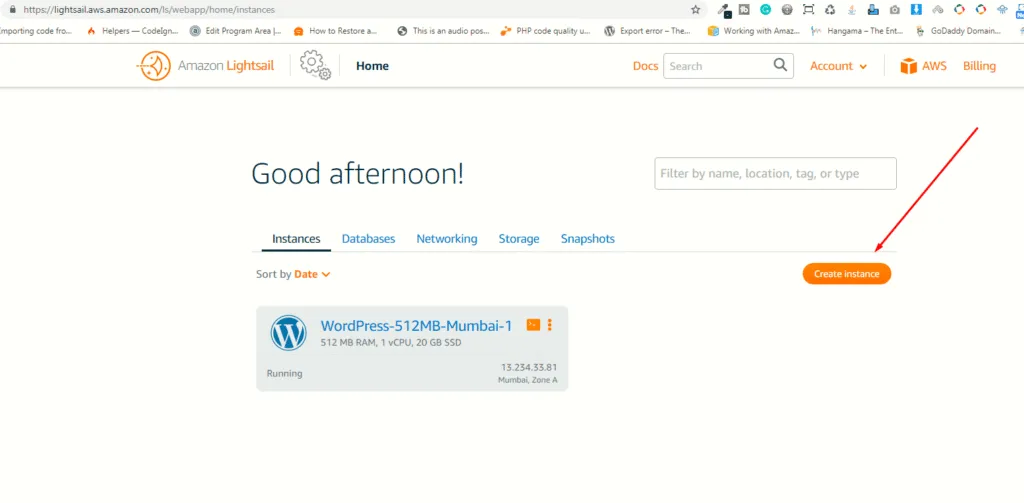
Step 2: If you already have an account, find the create instance button, or it will automatically ask you about the instance.
Step3: Select your region
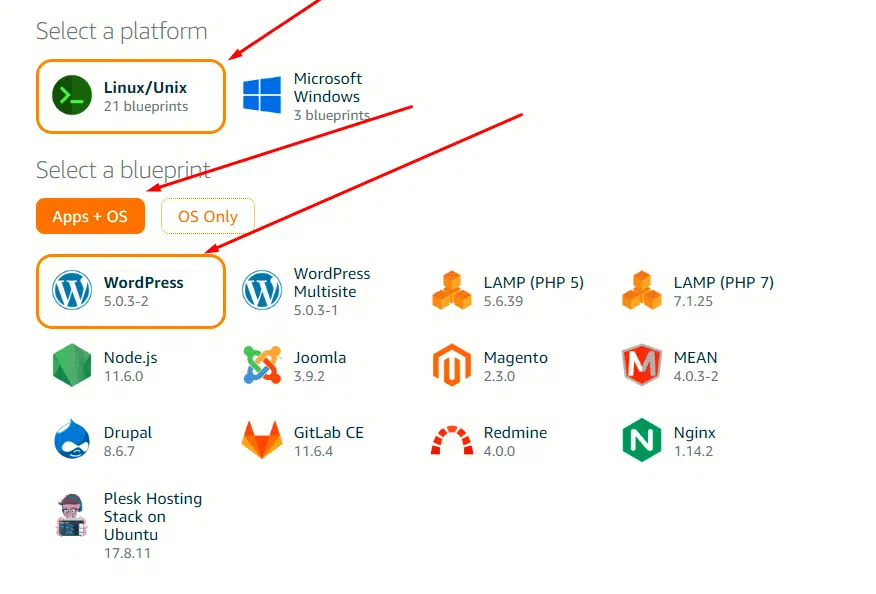
Step4: Select your platform and select your OS+Apps or single OS
Step 5: Click on the SSH key pair manager and download the key.

Step6: Choose your instance plan
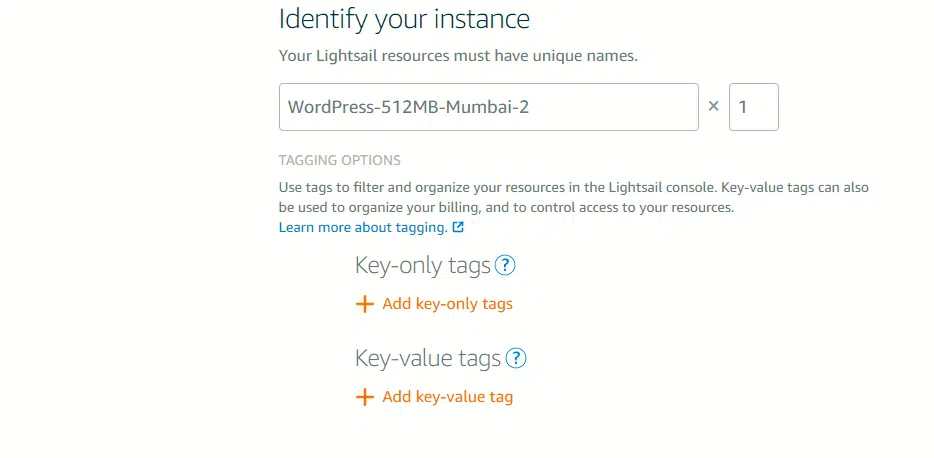
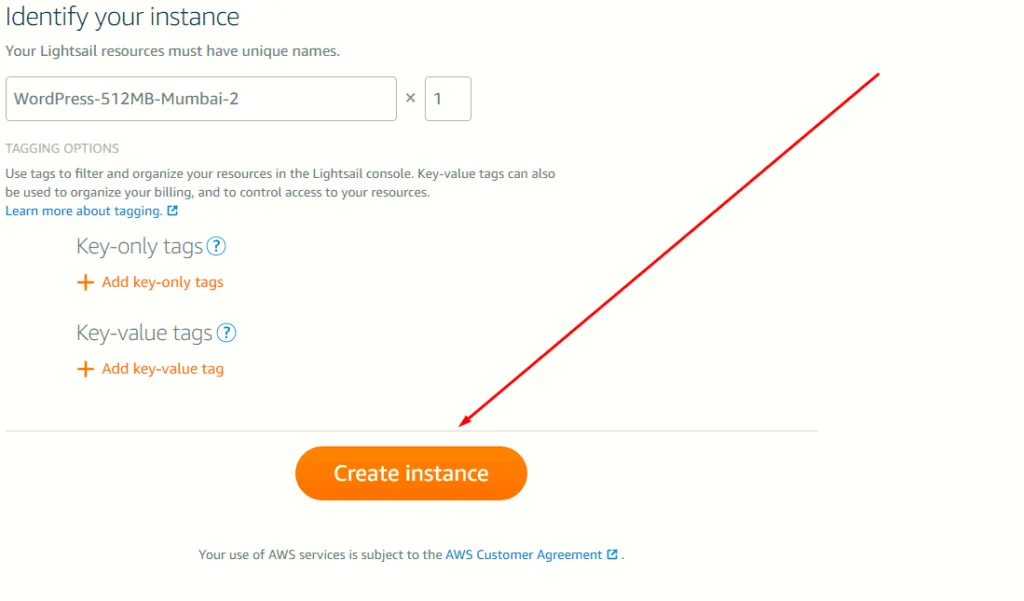
Step 7: Identify your instance and select your tagging option; you have two options key only tag and the key-value tag but its optional
Step 8: Click on the Create instance button.
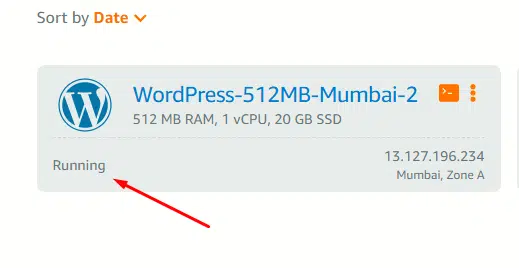
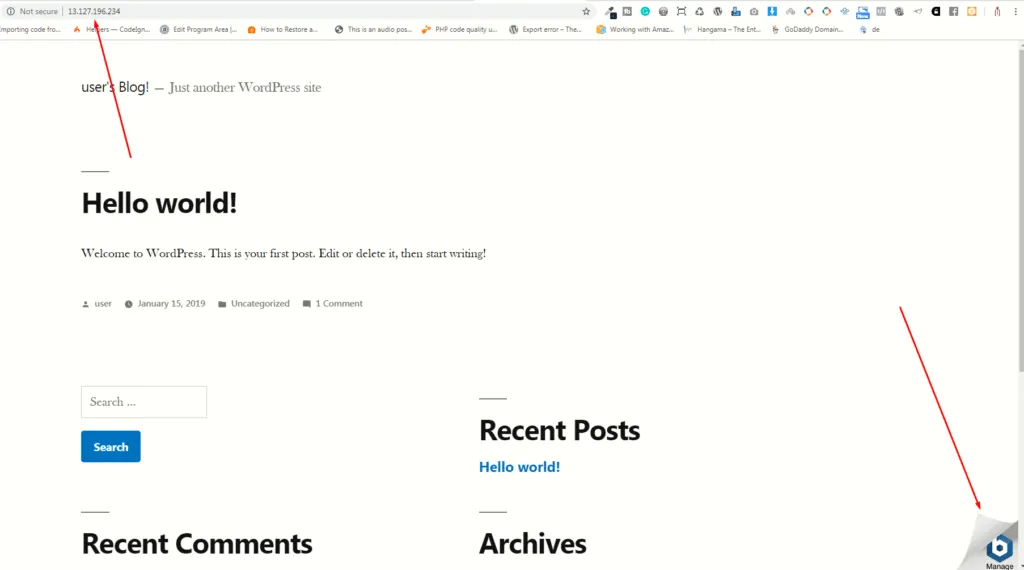
Wait for a few seconds when you see the Running tag on your instance. Now copy your IP address from your instance and paste it into the URL.
Now your site is ready to use, but what about your admin/user credentials? For security reasons, Amazon Light never sends you the credentials to your email address; you access the instance and get your code.
Get a WordPress password on amazon lightsail
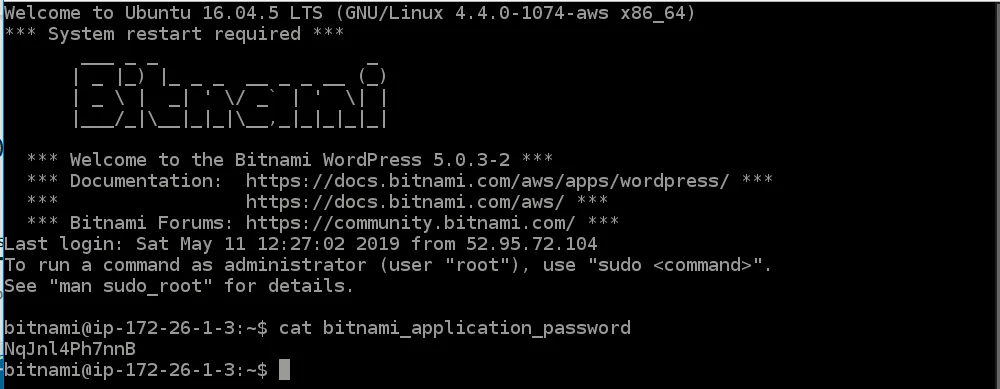
Step 1: Access your SSH instance.
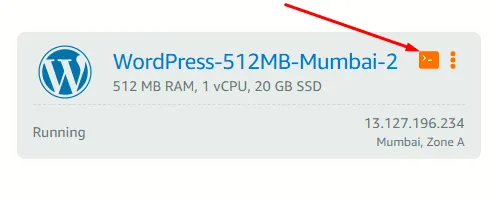
Step2: Type this code cat bitnami_application_password and get your code; please keep this code because you always need this while Accessing your PHPMyAdmin panel or WordPress wp-admin
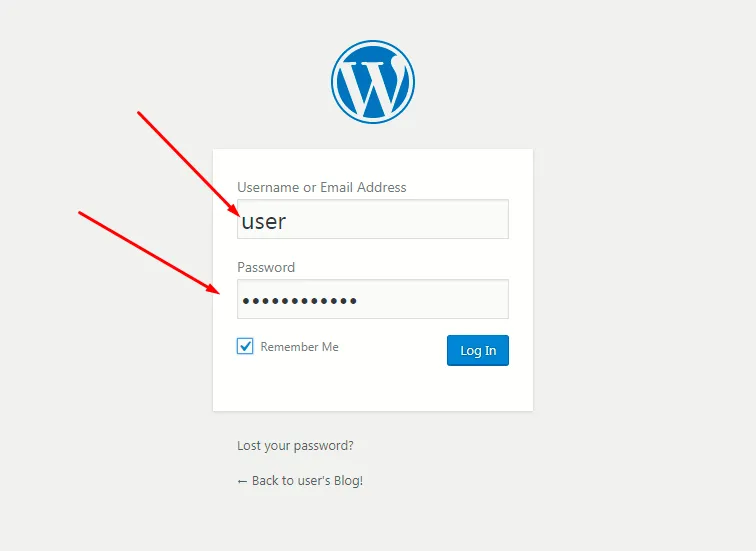
Step 3: Go to your IP address/wp-admin panel and use your credentials. UserName is the user, and password is the password you have just got from SSH.
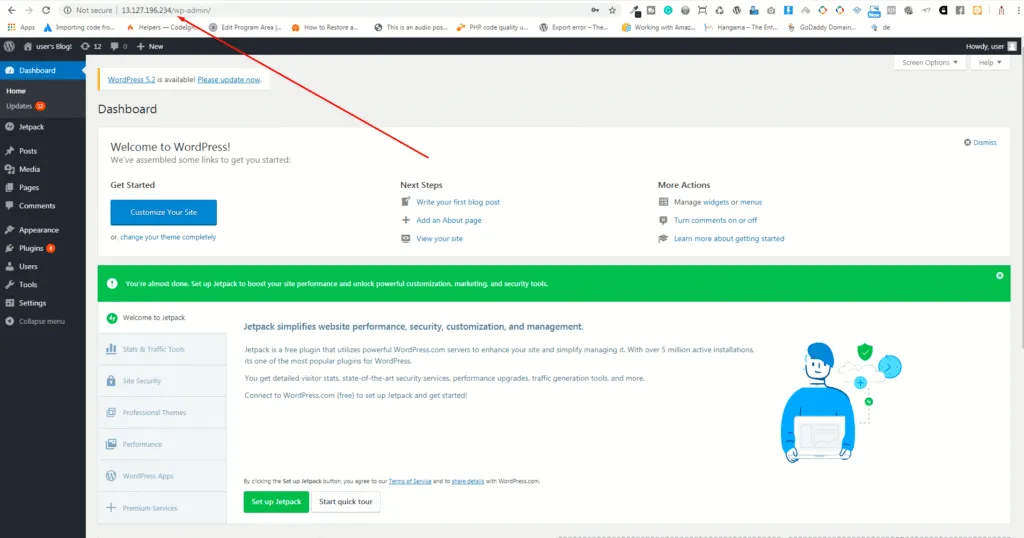
Congratulations, you have successfully installed WordPress on amazon lightsail
https://www.youtube.com/watch?v=CRjenxPTn1U
Related Blogs
How to access phpmyadmin using putty for wordpress lightsail
How to access PHPMyAdmin using Putty for wordpress lightsail If you are new to amazon l...
How to install Lets Encrypt SSL certificate on your AWS Lightsail instance
How to install the Lets Encrypt SSL certificate on your AWS Lightsail The first question that com...

0 Comment(s)